Mobhil
Mobhil Car Dealer HTML Template
This documentation is last updated on 09 January 2025
Thank you for purchasing this HTML template.
If you like this template, Please support us by rating this template with 5 stars
Sass Compile -
1.- Install Node.js
To compile Sass via the command line first, we need to install node.js. The easiest way is downloading it from the official website nodejs.org open the package and follow the wizard.
2.- Initialize NPM
NPM is the Node Package Manager for JavaScript. NPM makes it easy to install and uninstall third party packages. To initialize a Sass project with NPM, open your terminal and CD (change directory) to your project folder.
npm init

Once in the correct folder, run the command npm init. You will be prompted to answer several questions about the project, after which NPM will generate a package.json file in your folder.
3.- Install Sass
sass is an NPM package that compiles Sass to CSS (which it does very quickly too). To install sass run the following command in your terminal: npm install sass
npm install sass
4.- Write sass Command
Everything is ready to write a small script in order to compile Sass. Open the package.json file in a code editor. You will see something like this:
In the scripts section add an scss command
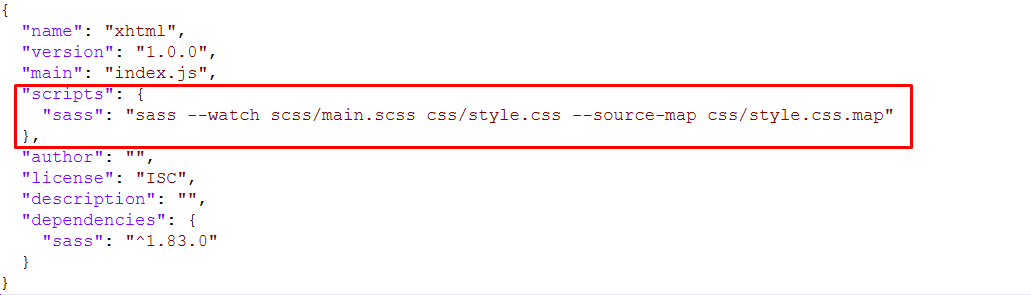
"scripts": {
  "sass": "sass --watch scss/main.scss css/style.css"
},
5.- Run the Script
To execute our one-line script, we need to run the following command in the terminal: npm run scss
npm run sass
Folder Directories -
-
images
This folder contains all the images of Mobhil template.
-
Icons
This folder font files for various template features.
-
css
This folder contains all the CSS files of Mobhil template.
-
js
This folder has all javascript files for various template features.
-
vendor
This folder has all plugins used in the template.
-
script
This folder has all script contact form used in the template.
-
scss
Scss File
HTML File -
-
about-us.html
About Us page
blog-grid-wide.html
Blog grid Wide page
blog-grid.html
Blog grid page
blog-list-sidebar.html
Blog list sidebar Page
blog-details.html
Blog details Page
error-404.html
Error 404 page
index.html
Home Page 1
index-2.html
Home Page 2
index-3.html
Home Page 3
index-4.html
Home Page 4
about-us.html
About Us
car-dealers.html
Car Dealer
car-detail-compare.html
Compare Detail
car-detail-pictures.html
Car Pictures
car-detail-price.html
Car Price
car-details.html
Car Details
car-details-2.html
Car Details 2
car-detail-specifications.html
Car Specifications
car-listing.html
Car Listing
car-listing-2.html
Car Listing 2
car-listing-3.html
Car Listing 3
car-review.html
Car Review
car-service-center.html
Car Service Center
compare-car.html
Compare Car
compare-result.html
Compare Result
contact-us.html
Contact Us
latest-cars.html
Latest Cars
location.html
Location
new-car-details.html
New Car Details
new-car-search.html
New Car Search
new-car-search-result-column.html
New Car Search Result Column
new-car-search-result-list.html
New Car Search Result List
on-road-price.html
On Road Price
popular-cars.html
Popular Cars
services.html
Services
upcoming-cars.html
Upcoming Cars
used-car-details.html
Used Car Details
used-car-search.html
Used Car Search
used-car-search-result.html
Used Car Search Result
used-car-sell.html
Used Car Sell
used-car-valuation.html
Car Valuation
write-review.html
Write Review
Credits -
-
jQuery
-
bootstrap
-
Animate
-
imagesloaded
-
lightgallery
-
magnific-popup
-
masonry
-
owl-carousel
-
Swiper js
Theme Features -
Layout
<body id="bg" class="boxed">
<body id="bg" class="frame">
Header
Header Fixed is-fixed
<div class="main-bar-wraper navbar-expand-lg sticky-header is-fixed">
Header Static sticky-no
<div class="main-bar-wraper navbar-expand-lg sticky-no">
Background Color
You can use body background color like this but it will only work in boxed and frame layout
<body id="bg" class="frame" style="background-color: rgb(255, 175, 41);">
Background Image
You can use body background image like this but it will only work in boxed and frame layout
<body id="bg" class="frame" style="background-image: url("images/background/bg1.jpg");">
Color Theme
So many color option available
<link rel="stylesheet" class="skin" href="css/skin/skin-1.css">
HTML Structure
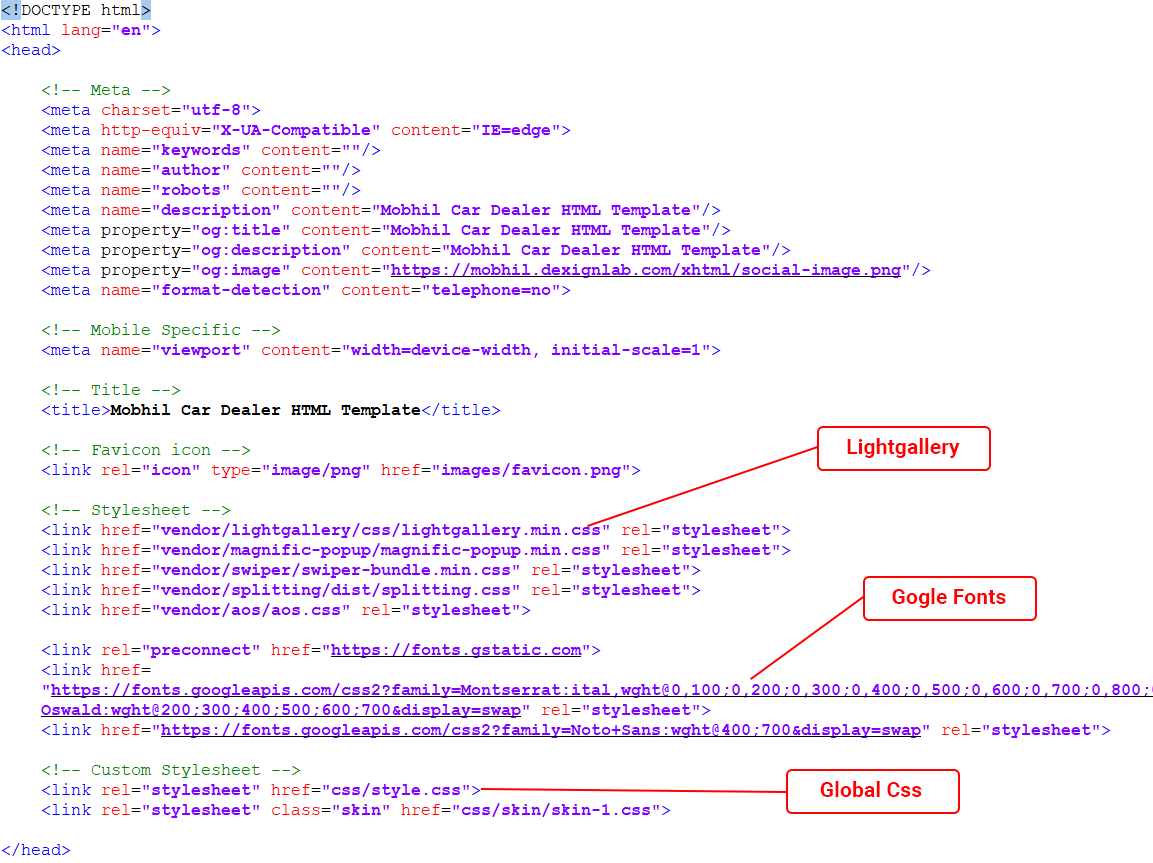
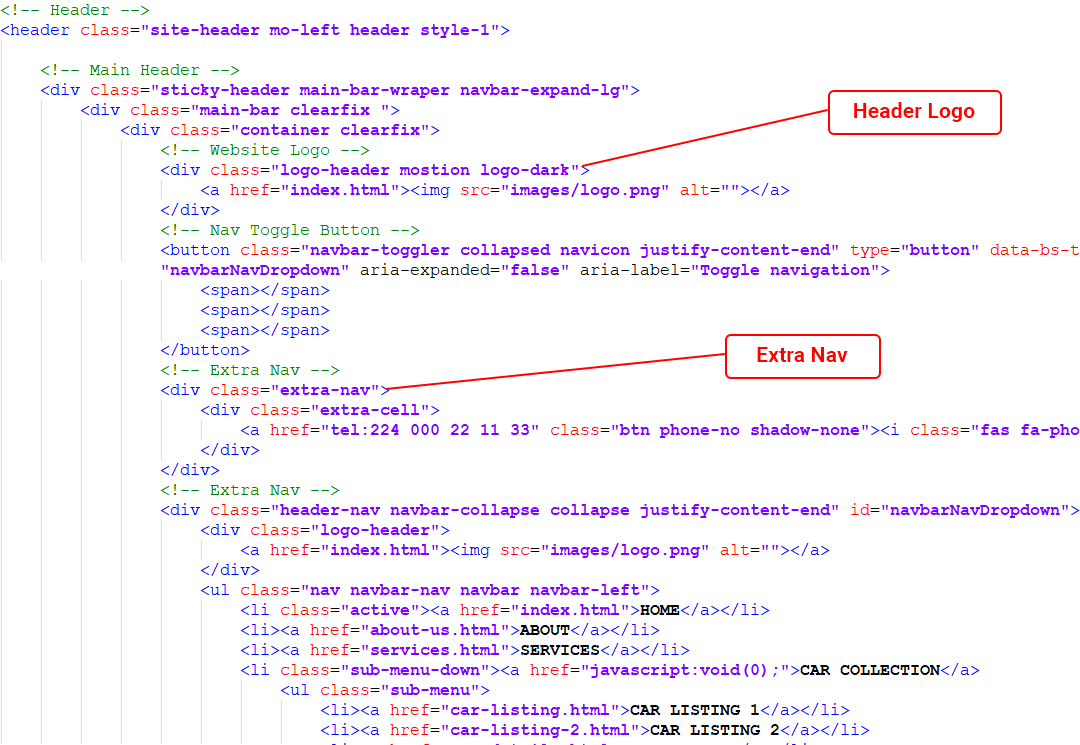
Header
Footer

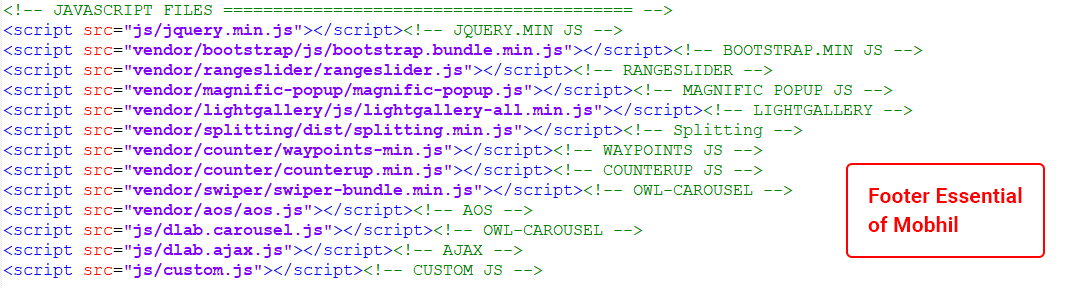
Footer Essentials
Contact Form Handler -
reCAPTCHA -
Register your website and get Secret Key.
Very first thing you need to do is register your website on Google recaptcha to do that click here.
Login to your Google account and submit the form.
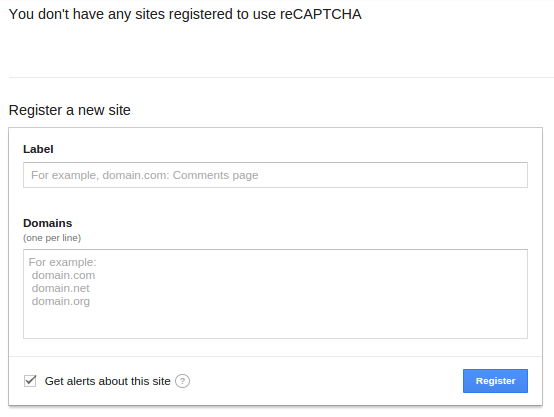
Once submit, Google will provide you following two information.
- Site key
- Secret key
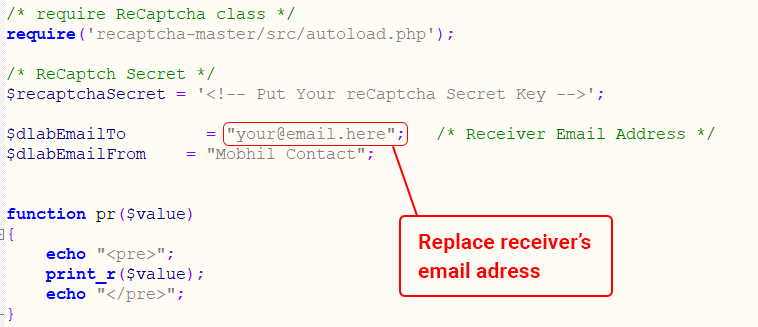
Integrate Google reCAPTCHA in your website.
To integrate it into your website you need to put it in client side as well as in Server side. In client HTML page you need to integrate this line before HEADtag.

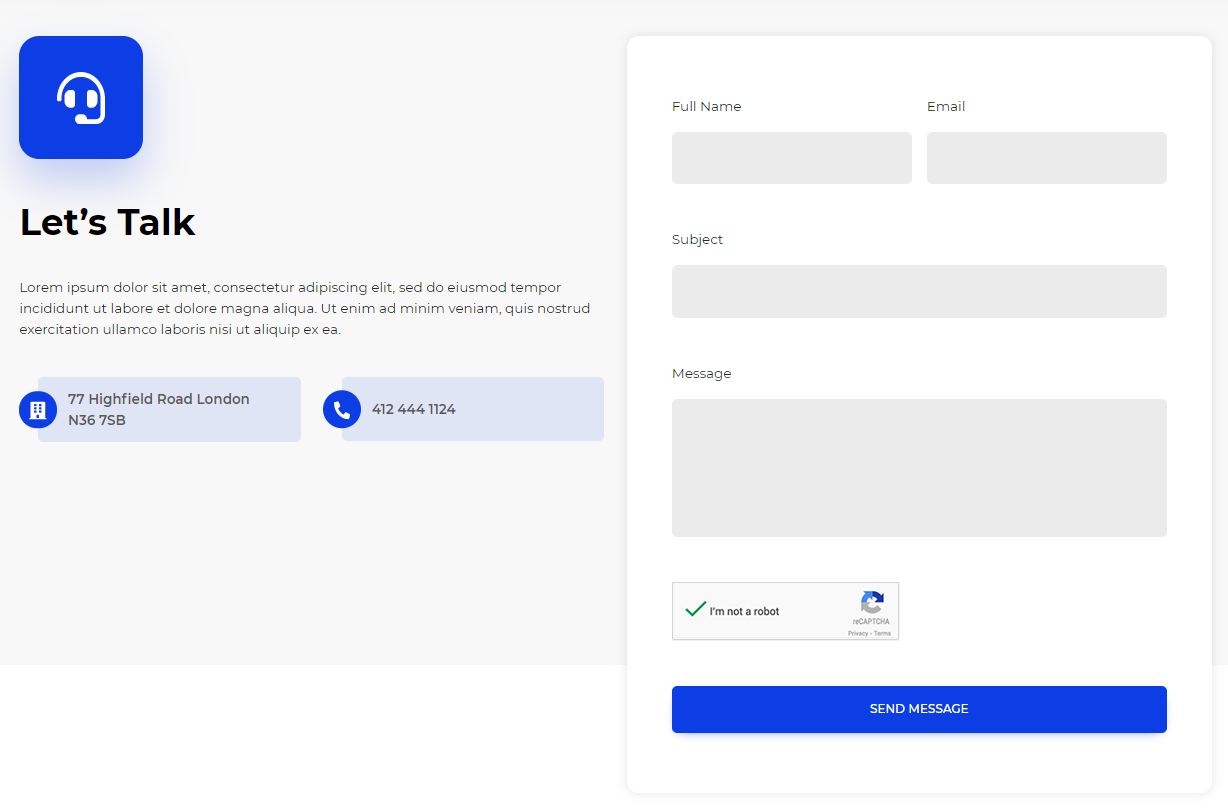
And to show the widget into your form you need to put this below contact form, comment form etc.

When the form get submit to Server, this script will send ‘g-recaptcha-response’ as a POST data. You need to verify it in order to see whether user has checked the Captcha or not.
Sample project
Here is the HTML code for the simple form with comment box and submit button. On submit of this form we will use PHP in back-end to do the Google reCAPTCHA validation.
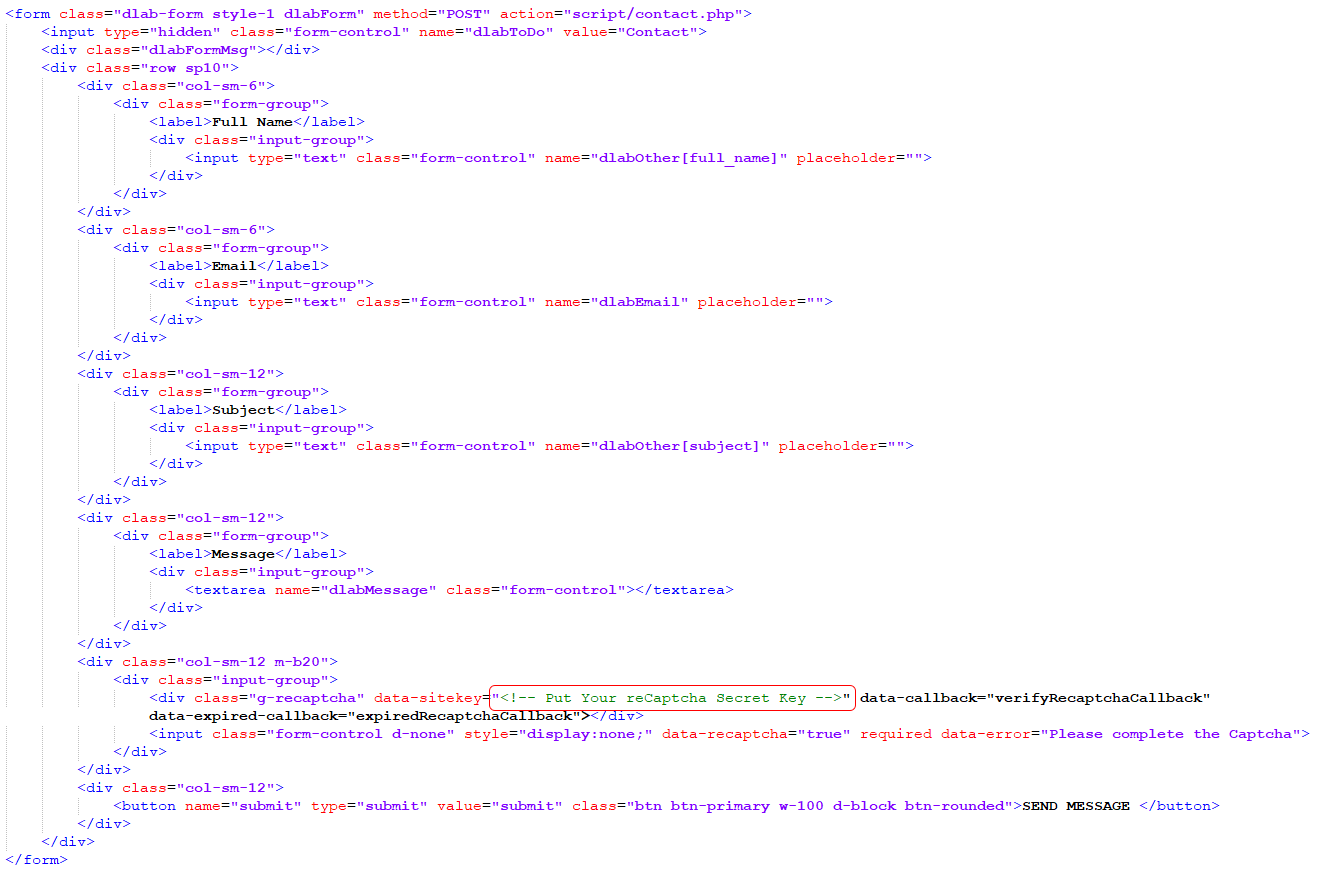
This will generate this form.
On server side i am using PHP for now. So on Form submit request we will check the POST variable.
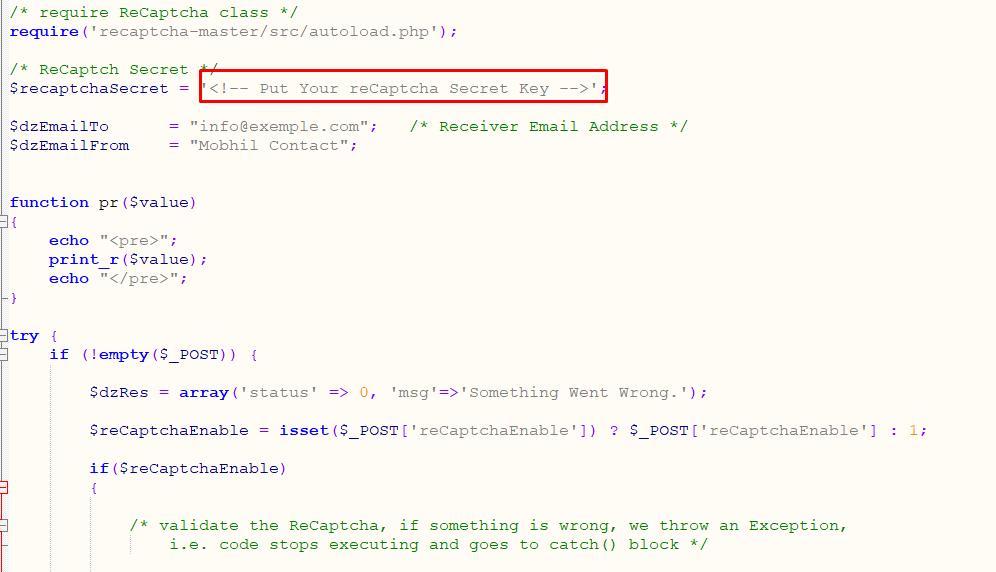
try out the demo to see how it works.
Our Products -


Do You Need Help To Customization
After Purchase A Template...
You Will Start Customizing According Your Requirement
BUT What If You Don't Know
SOLUTION IS HIRE DexignLabs
Hire Same Team For Quality Customization
- We Will Customize Template According To Your Requirement
- We Will Upload On Server And Make Sure Your Website is Live
Version History - #back to top
v1.3 - 09 January 2025
- Added - Eight new post type pages to diversify content presentation.
- Added - Four blog grid and sidebar pages for enhanced layout options.
- Added - Four multiple media pages to support various content formats.
- Added - Several post layout type pages to offer flexible design choices.
- Fixed - Resolved javascript bugs to enhance user friendliness.
- Updated - Optimized javascript and CSS files for improved performance.
v1.2 - 21 July 2024
- Added - Blog grid pagea
- Added - Blog list sidebar page
- Added - Blog details page
- Added - error-404.html
- Added - contact_smtp.php
- Bugfix - Resolved js issue
- Improvement - Designing improvement
- Improvement - SCSS File
- Improvement - HTML File
v1.1 - 27 June 2024
- Update HTML Files
- Update CSS Files
v1.0 - 21 September 2021
- New - Created & Upload Mobhil